Setting up E-Mail Events
You can find out how to set up e-mail events here. In an e-mail event, an e-mail is sent automatically when a specific event occurs. For example, an order confirmation e-mail is sent automatically when a customer completes an order in your online shop.
-
If you have not yet specified a sender for the e-mail events,
proceed as follows:
Note: You can change the sender for each e-mail event at any time later.
-
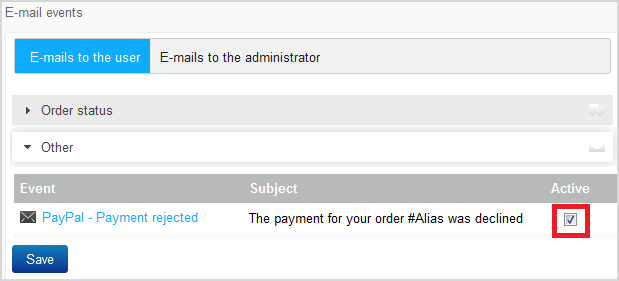
To activate e-mail events, proceed as follows:
- In the E-mails to the user section, activate all events for which an e-mail is to be sent to your customers.
As of now, if one of the activated e-mail events occurs, an e-mail is sent to the customer or to you.
-
To edit the contents of an e-mail that is sent for an e-mail
event, proceed as follows:
- Click the e-mail event.
- If you want to edit the subject, change this directly in the Subject field.
- If you want to edit the contents of the e-mail, click a section that has a dashed frame.
Tip: You can also specify that the following documents are automatically attached as PDF files to order status e-mails:- Invoices (see Attaching Invoices to E-Mails Automatically)
- Cancellation instructions (see Attaching Cancellation Instructions to E-Mails Automatically)


 icon in the top right corner.